Disclaimer: If you are going to be working with power tools (or any tools for that matter) you need to be extremely careful! Make sure you use all safety precautions and that you are being responsible with your tools. I am in no way, no how responsible for your actions or the results of anything.
Basically what we did was cut a 4x4 post to our desired height (5 foot) and then made our legs out of a 2x4 post. Then we put a decorative topper you usually use on top of fence posts. We put corner edging (I don't know the "technical" term for that piece but I will show you a picture) on the four corners of the post. It adds dimension.

Above is a picture of the legs.

This is the corner edging I was talking about. This and the hardware were the most costly
thing of the project. These bad boys were $10 a piece and I needed 4!
After we got all of that done we filled in all of the gaps and screw holes with wood filler. We used Elmers wood filler. This stuff dries pretty fast and its easy to sand.
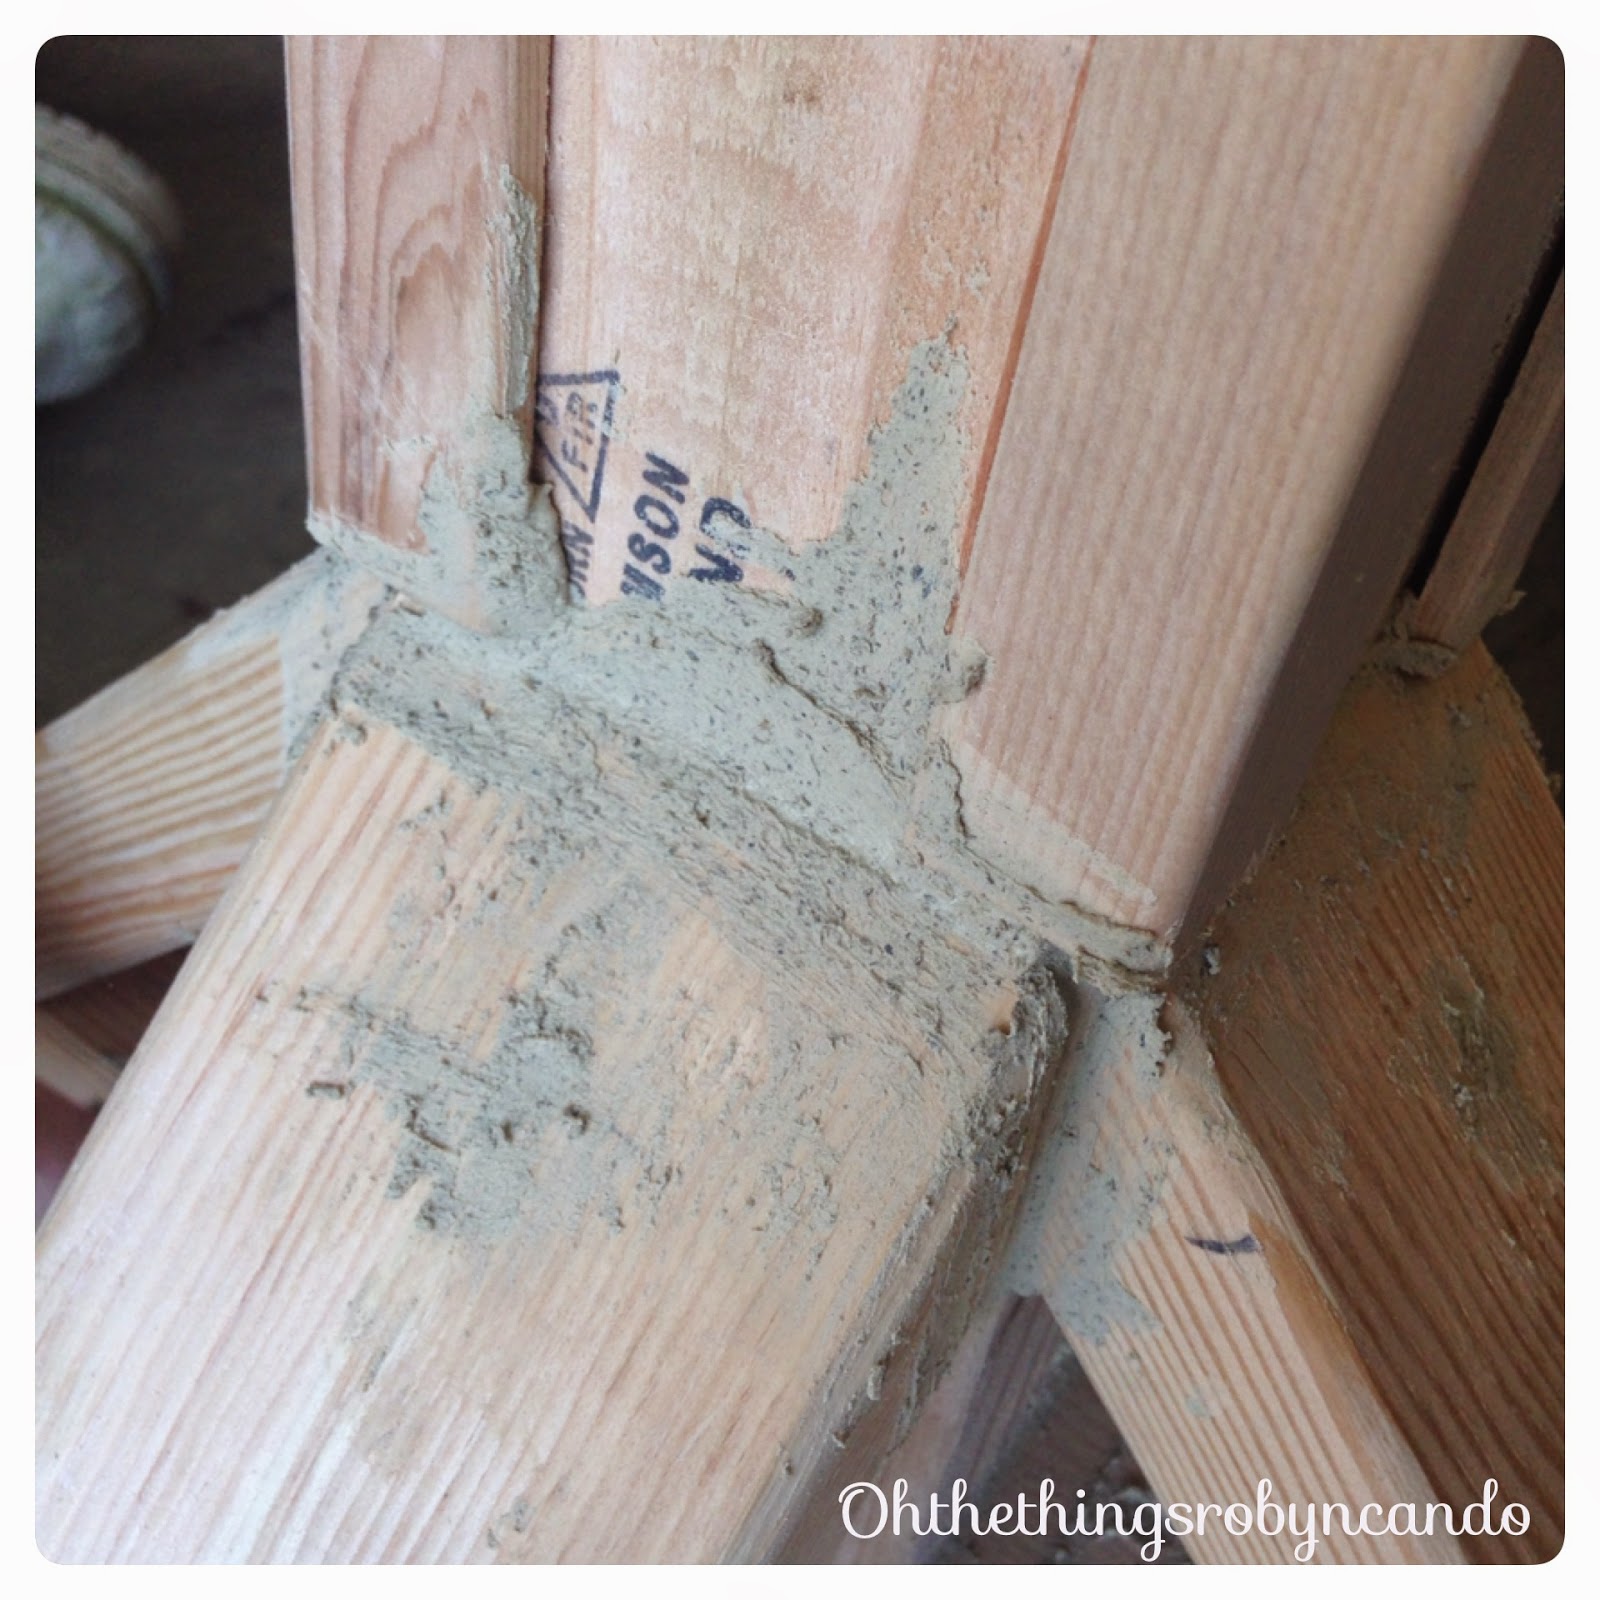
filler into the gaps.
Once our wood filler was all dry we sanded the entire coat rack to make it smooth so when we painted it would have a nice finish. Now, if you want more of a rustic look to yours honestly there is no point in sanding prior to painting.
A satin finish for my paint is what I chose to use on the coat rack. I wanted something with a slight glossy finish but nothing crazy. You guessed it, I painted it in Antique Earth by Behr. I just can't help myself. I ordered the hooks off of Amazon.
To make this a more budget friendly project (which is really what I was trying to do) you could leave off the corner edging. As far as the hooks go, Cost Plus World Market have a great selection of hooks and knobs that you could use. That was actually my first stop, but, I had this vision that I just couldn't shake.

Well, there you have it... our glorious, customized masterpiece. We are very proud of our handy work. Now, onto my next project with the spare wood. Look for an upcoming post of my entryway redo. I just have one more thing that I need to complete it and I should be able to get it soon. Then you can really see the full affect.
No comments:
Post a Comment