The kleenex pouch project I got on Martha Stewart's web site. I did go on to make my own design of little pouches with buttons. My finished products and instructions are below.
 |
| Two different designs |
 |
| Textured Felt kleenex holder |
 |
| Personalized embroidered initials |
1. Felt fabric any color you wish
2. Embroidery thread- you can match to your fabric or use a contrasting color
3. Embroidery needle
4. Buttons
How to make the kleenex holder
1. Cut felt into a 6 3/4 inch wide by 6 1/4 inch long piece
2. Fold each side of the piece in towards the center and overlap by 1/4 inch.
3. Pin along the sides to secure the folds leaving enough room to make your stitch
4. Using your embroidery thread and needle make a simple stitch 1/4 inch from the edge
5. Place tissue in pouch and viola! You have a decorative tissue holder.
 |
| Step #1 |
 |
| Step #2 |

How to make the green pouch:
1. Measure and cut the following pieces out of 1 piece of felt fabric:
Front and back- 6 inch by 4 3/4 inch (2 pieces)
Sides- 2 inch by 6 inch (2 pieces)
Bottom- 2 inch by 4 3/4 inch
Flap- 4 3/4 inch by 3 inch- you can use a different color of felt if you like
2. Pin and sew the flap to the back piece. I brought mine down about 1 inch and made my stitch 1/4 inch from the top edge.
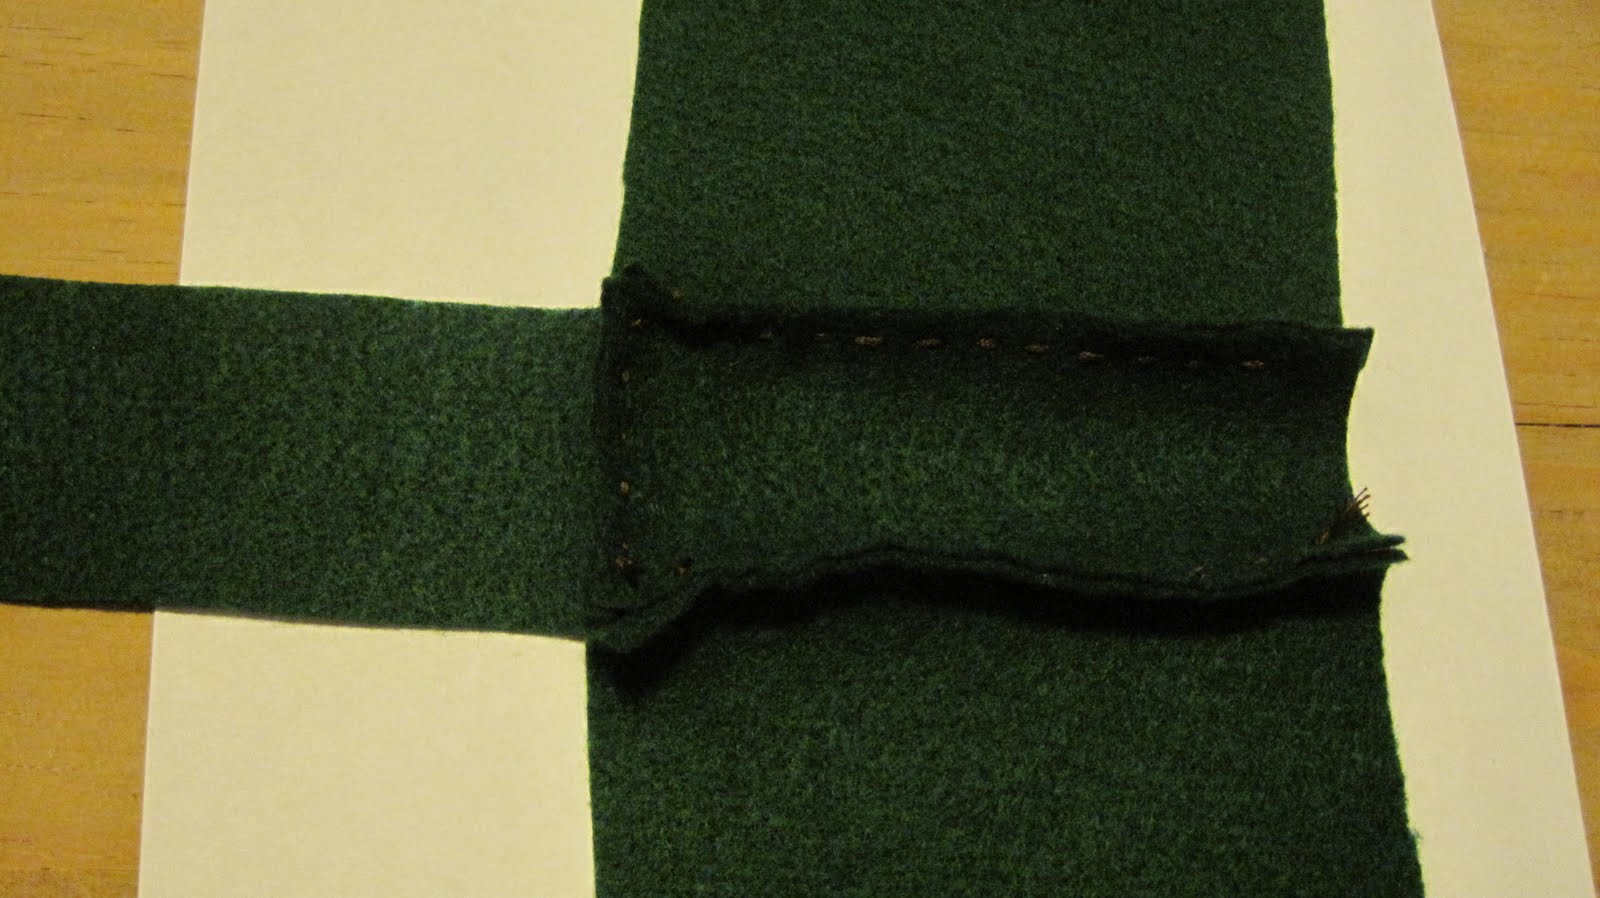
3. Pin and sew back to bottom piece. I made my stitch a 1/4 inch from the edge and left a 1/4 inch space on each side. (See pictures below)
4. Pin and sew side pieces to the bottom piece. Then sew to the front and back pieces. I started at the bottom of the pouch with my stitch. I pinched the bottom, front and back pieces when I began my stitch for the sides, that way the pouch was secure in the corners.
5. Fold your flap down and determine where you need to place your button. Sew on button and then make your snip on the flap for your button. Now you have made yourself a simple little pouch.
 |
| Step #1 (this is without the flap piece) |
 |
| Step #3-I am pointing to the 1/4 space I left. |
 |
| Step #4 |
 |
| All the pieces sewn together |
 |
| Step #4. Pinching all 3 pieces at bottom corner. |
How to make the pink pouch (simpler design):
1. Cut a piece of felt fabric into a 4 inch by 8 1/4 inch piece for the pouch
2. Cut a piece of felt fabric into a 2 1/4 inch by 4 inch piece for the flap
3. Place the flap on the "back" side of the pouch down 1/2 an inch and make your stitch
4. Fold the pouch piece in half so that the bottom of your pouch is a "no sew" edge
5. Pin and sew sides
6. Fold the flap down and determine where you need to place your button. Sew on button and make snip in flap for the button.
No comments:
Post a Comment