"Sometimes you gotta create what you want to be a part of it."
-Geri Weitzman

Thursday, November 15, 2012

Thanksgiving Table Setting


   Planning Thanksgiving is overwhelming...period.  This year for my side of the family my husband and I are hosting Thanksgiving dinner.  Since it is a fairly small affair we decided to use "formal dining ware".  I decided that I wanted plain white plates so for any event that called for formal dining ware in the future we had something neutral.  But white plates not so cheap I found out.  I really didn't want to spend a fortune just on plates.  I thought to myself, "you are in trouble."  But then my genius, frugal mind kicked in and I figured out a way I could create an entire table setting for cheap.  Plates, charges, cloth napkins, center piece/candles and glassware I did it!  I took notice in what I had and I only needed to buy the plates and chargers.  I broke it down piece by piece and grand total is around $52.  Below are pictures of my set up.  Keep in mind that all the food will be on a separate table.  I made it simple and easy.


Brown and gold warm up the setting.


The gold chargers bring out candle light to the table.

These are very versatile for any beverage.
  
  * Plates and Chargers: $1.00 each at The Dollar Tree (6 of each is $12)
            Check out your dollar store when buying things like this.  No it's not your Grandmother's china
     but if you are not going to use it all the time then consider a cheaper alternative.
 *  Napkins pack of 6 for $9.99.  I bought mine at World Market a while back.  They have about every color and they hold up well.
 *  Glassware-Stemless wine glasses pack of 4 for $9.99 at Walmart.  I already had these as well but       still for the cost of 8 for $20 you can't beat that.  I love these for water glasses.
 *  Votive candle holders $1 each
 *   Table runner $1
 *  Decorative corn 3 for $5 and twig pumpkin $1

   This setting isn't over the top but I think keeping it simple makes it more relaxing.  Be creative and use what you have.  The only things I didn't have were the plates and chargers but I wanted to show how simple it could be to put something together with "formal dinner ware".  Hope this inspires you.


Saturday, November 10, 2012

Repurposed Shoe Box

   So, I have had this ONE shoe box in my gift wrap bin for months waiting to use it for well, you guessed it wrapping a gift.  Of course that hasn't happened so I decided that I was going to use it for something else.  Plastic forks, knives and spoons.  Over several events we have accumulated a ridiculous amount of them.  They just get shoved in a big zip lock bag and tucked away.  To make things a little more decorative and prettier (because when things are prettier they just seem to be...better) I figured I would decorate my shoe box.
   Rather than covering it with fabric I chose to use my thick hemp and felt.  All this stuff I already had and have had for a long time.  Seriously, I think I have had the hemp for 5 years!!!  It's time for it to be useful.

What You Need:
1.  Thick corded hemp
2.  Hot glue
3.  Felt fabric
4.  Need and thread
5. Shoe box


How To Do It:
1.  Trace the bottom and sides of the box on your felt fabric.
2.  Cut your pieces of felt fabric and hot glue them to the inside of the box.


3.  Start applying a line of hot glue at the bottom of the outside of the box then place your hemp over the glue.  I didn't do a continuous wrap.  I cut my cord once I got to the point that I started.


4.  Once I got to the top I glued around the rim covering the edge of the box.


  To add a little touch I thought that I would make some felt flowers.  But here's the deal, I SUCK at them.  I have looked at every Pinterest link to make them and I can't do it.  So, I winged it.

Felt Fabric Flowers:

1.  Cut three different sizes of circles.  As you will be able to see from the picture below I didn't use a "template" for the circles.


2.  Then I stacked them together and ran a needle and thread through them securing it in the back.


3.  Then I cut "pedals" (see the picture above) on all three circles.  Don't cut all the way to the center.
4.  Once I was done I glued them to the outside of the box.  Since it is the holiday season you could put so many cute decorations on it rather than the felt flowers.  Maybe pinecones or evergreen with bells.

     Here's the finished box


  I must warn you that you will burn your finger tips with the hot glue and I did manage to cut myself with the scissors so be careful.  However, I do like it and now my plastic "silverware" can rest in style.
Happy crafting everyone.


Updated Look:

  So last night I decided that I needed to add sections to the inside of my box.  I took the lid to my shoe box and cut it into 2 pieces that would make dividers for the inside.  I covered them in felt and then glued the hemp cording to the top of the dividers.


Tuesday, November 6, 2012

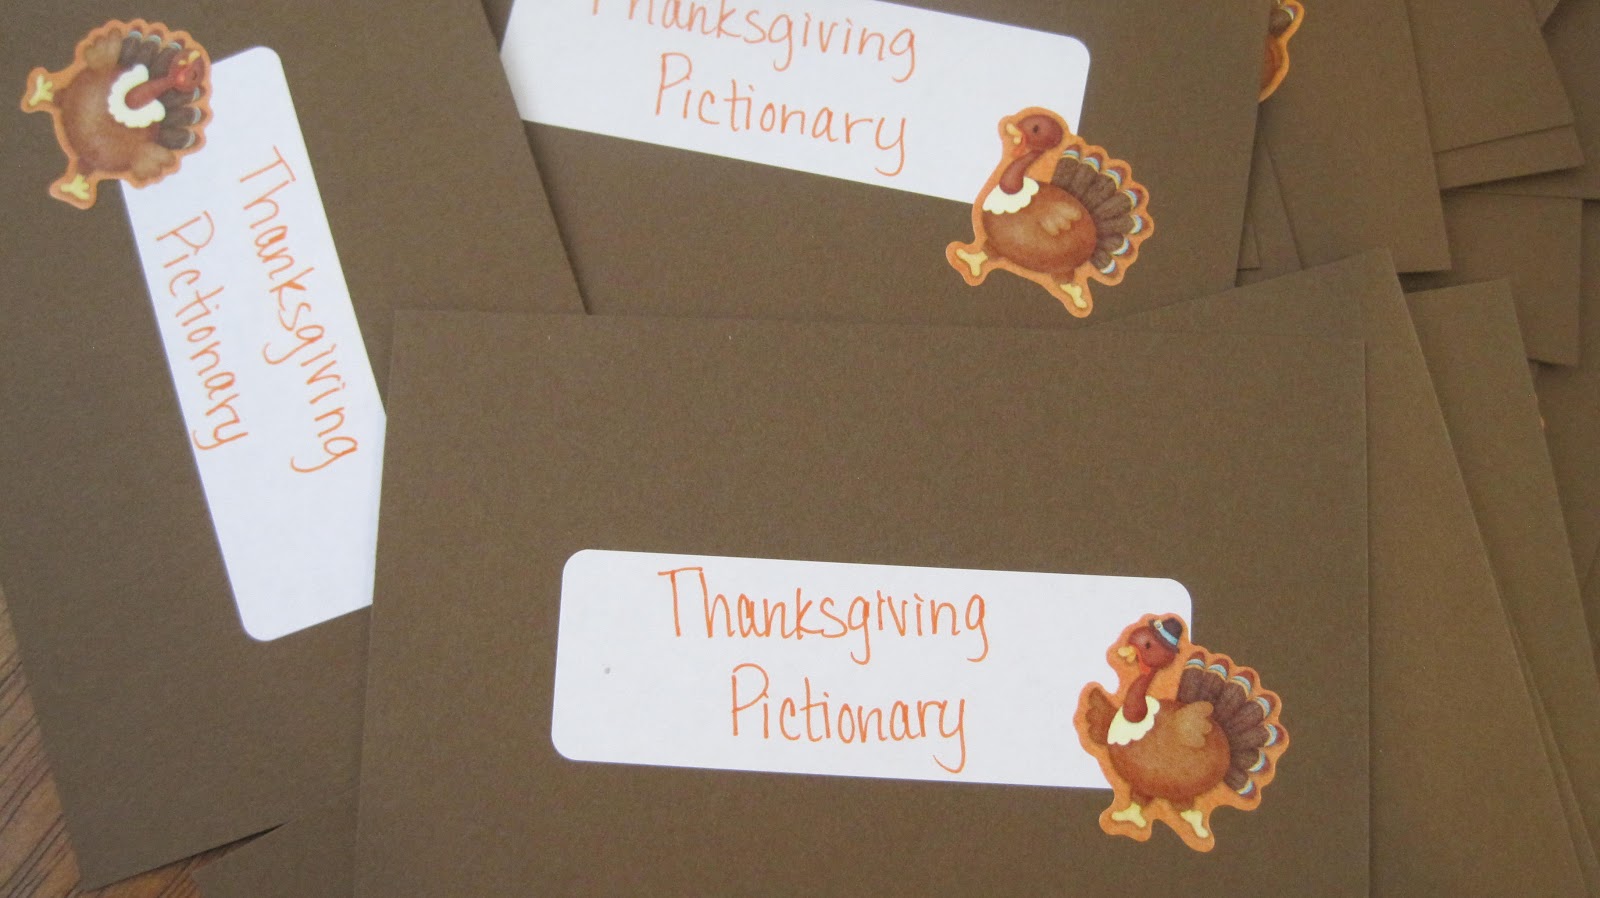
DIY Thankgiving/Fall Pictionary

  For the last couple of years I have been making our own pictionary game cards.  Halloween, Summer, Back to School, ect. and they have been a HUGE hit.  This year my husband and I are hosting Thanksgiving and we are getting our game faces on for this years pictionary!  I have found the easiest way to make your own cards and it's pretty inexpensive.  The hardest part is coming up with words or phrases but once you have those it's cake (or should I say it's pumpkin pie?  humm food for thought).  Anyways, this is how I did it and I hope that you try it too.

What you need:
1.  White labels
2.  Card stock of your choice of color
3.  Stickers of whatever theme or event your doing


How To:
1.  Make a list of words, phrases, places ect. that relate to your event or theme.  I just google what my event is and put "words associated with...." it seems to help.
2.  Cut your cardstock into 3 1/4 inches by 4 3/4 inches.  You can make them whatever size you want this is just the size I use.
3.  Write or type* your event on one label and a word or phrase on another.  Center the label on each side of the card and stick it on.
4.  Place your stickers on the card any way you want.  This would be fun for little kids that may be too young to play but can still have fun with it.

  * If you use the labels that you can put in your printer it would make this faster.  I always hand write them because I bought a GIANT pack of the small single sheets (the ones that won't go in a printer) and I still have them.  Just follow the instructions that you can find on the back or insert to fit your printer program.

  The Finished Product:


  Let me know if you do this, or if your family and friends play other games comment below and let me know.  Like I said we have a total blast.


Sunday, November 4, 2012

Fall Wreath

   I wanted to share my wreath that I made for Fall.  My blogger friend www.naphtalismelody.blogspot.com made a Valentine version and it came out really cute.   I can't resist anything argyle and she said that they were easy to make.  She found it on Pinterest which I believe that this web site www.mineforthemaking.blogspot.com. is where it originated from.  Basically it's yarn wrapped around a foam wreath.  The design or diamond shapes are made from felt.  You could really do anything with it.    I added my own touch with decorative leaves and ribbon.  It gives a nice warm, Fall greeting to our guests.  Hope you like it.


Saturday, September 8, 2012

Fall Fashion Lineup

   Sweaters, boots, scarves the list goes on and on of the things that I love to wear in the Fall.  My excitement is building the closer the season comes.  I have put together a lineup of five different outfits with accessories for you.  Please be kind, I took these pictures by myself and it wasn't easy. Everything from earrings to shoes I will list where I got them and for how much to the best of my memory.  Fair warning, I love a deal no matter where it's from.  I very, very rarely buy something full price and I shop with a classic style in mind.  I hope you enjoy and it gets you rummaging in your closet.

Outfit #1


What I am wearing:
Dress: Hollister Collared T-shirt $15
Sweater:  Abercrombie & Fitch Letterman Sweater $25
Shoes:  Mossimo $14.99 @ Target

My Jewelry


I chose simple accessories for this outfit.  The watch has diamond detailing on the face and my studs are a shinny silver.  Not too overwhelming but fits the "preppy" look.
Watch:  Merona $14.99 Target
Earrings:  Icing $6.49 pack of 9 pairs


Outfit #2


What I am wearing:
Shirt & Jacket: Energie $6.99 Fred Meyer, Paradise East $10 @ Ross
Pants: Hollister Jeggings $10 
Boots: Candies Riding Boots $70
   
My Jewelry & Boots:


Necklace: $2 (ish) Fred Meyer (shop their clearenced jewelry you can score big)
Earrings:  $3 Fred Meyer


Outfit #3


What I am wearing:
Dress:  Forever 21 $10
Jacket: U.S. Polo Jean Jacket $15 @ Ross
Scarf:  Rue 21 $7.99
Shoes:  Mossimo $15.99 @ Target

My Jewelry and Shoes:


Outfit #4


What I am wearing:
Shirt and Jacket: Longsleeve crew neck $10 @ Target, Mudd $10 @ Fred Meyer
Pants:  Hollister Skinnies $25
Scarf:  Rue 21 $7.99
Shoes:  Mossimo $10 @ Target


Outfit #5


What I am wearing:
Sweater: Abercrombie & Fitch $19 
Pants: Aeropostal $15
Shoes: Soda $16.99 @ Fred Meyer


My Jewelry & Shoes:


My Jewelry:
Watch: This is just one of those cheap "change the bands" sets that I bought @ Walmart 
Earrings:  $3 ish @ Fred Meyer

   Fall is upon us and I hope new outfit ideas are too.  Go in your closet and see what you have.  Most of these items I have had for a couple of years.  Only one outfit is actually new.  Please comment below and tell me what you like to wear, if you want me to do more of these or if you have any questions.  Thanks for reading and have a wonderful day.

Wednesday, September 5, 2012

Empty Frames? Not Any Longer!

   After I did a little rearranging and redecorating I had some frames that I didn't have pictures for.  So instead of pictures I thought a quote or a saying would be perfect.  Both of the frames were going to go in our bedroom on our night stands.  I wanted them to be something meaningful.  I decided on lyrics to our song and then something that is just kind of a cute saying.  Sometimes I forget about the simple tools to make something so personal.
   It's super easy and I just printed them off my computer.  I will show you how I made it work.

My Frames


  For the picture frame on the right ( 3x4) I printed the song lyrics.  This was trial and error but I ended up using size 7 font and I changed it to an olive green color.  Once I had it printed out I took the glass out of the frame and placed it over the lyrics.  Like so...


 Then I lightly traced around the glass so I could get my image centered and cut it out.

My Finished Product


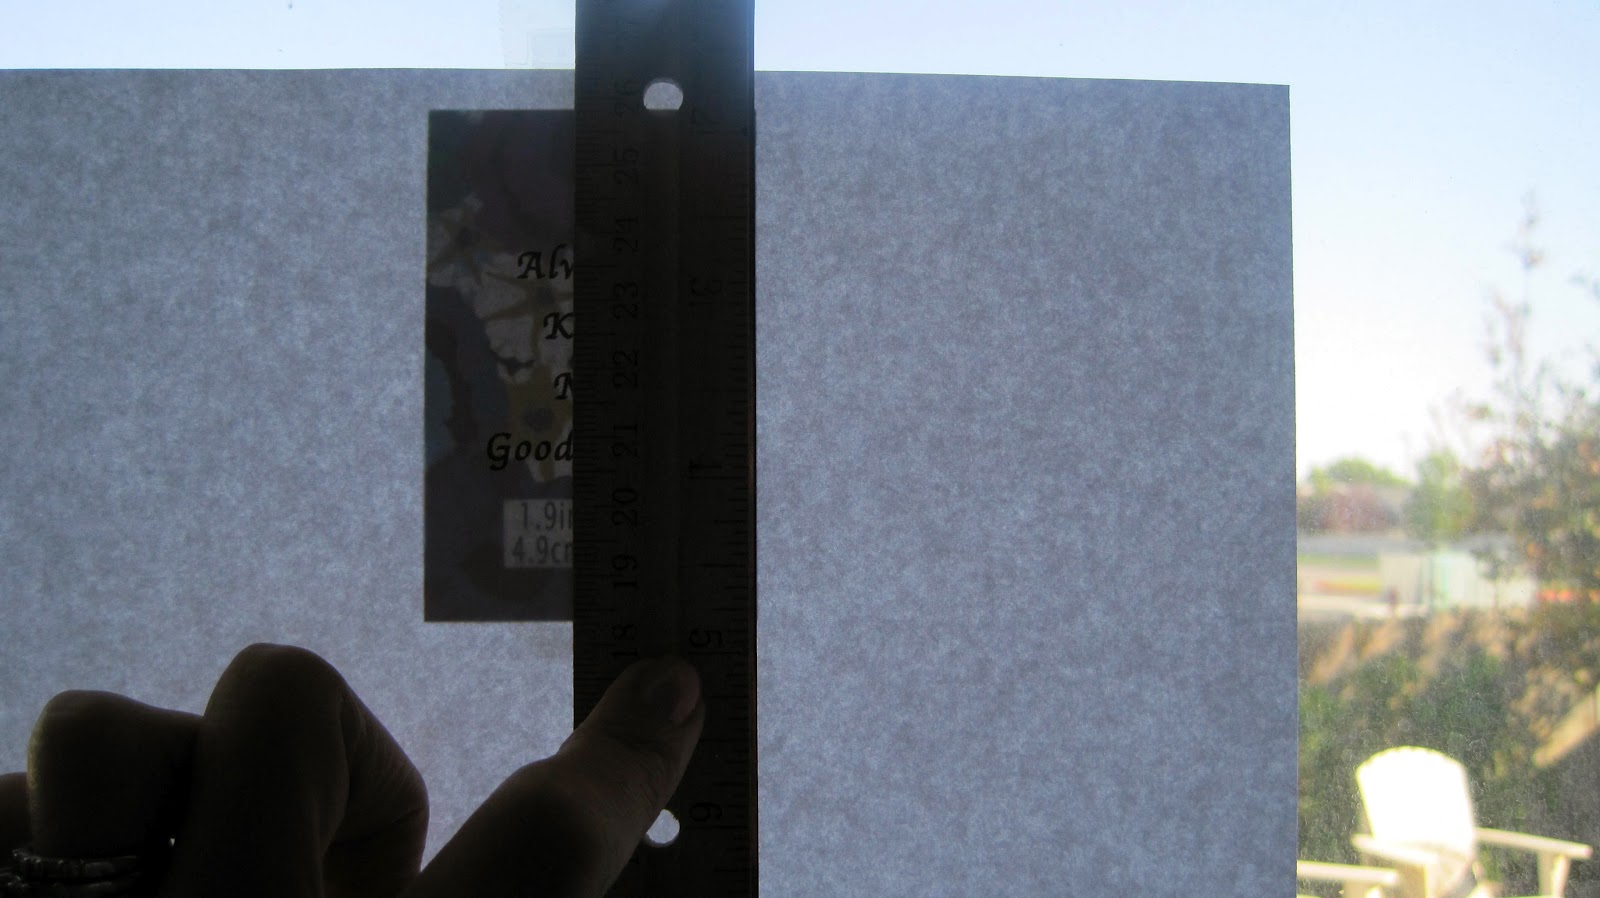
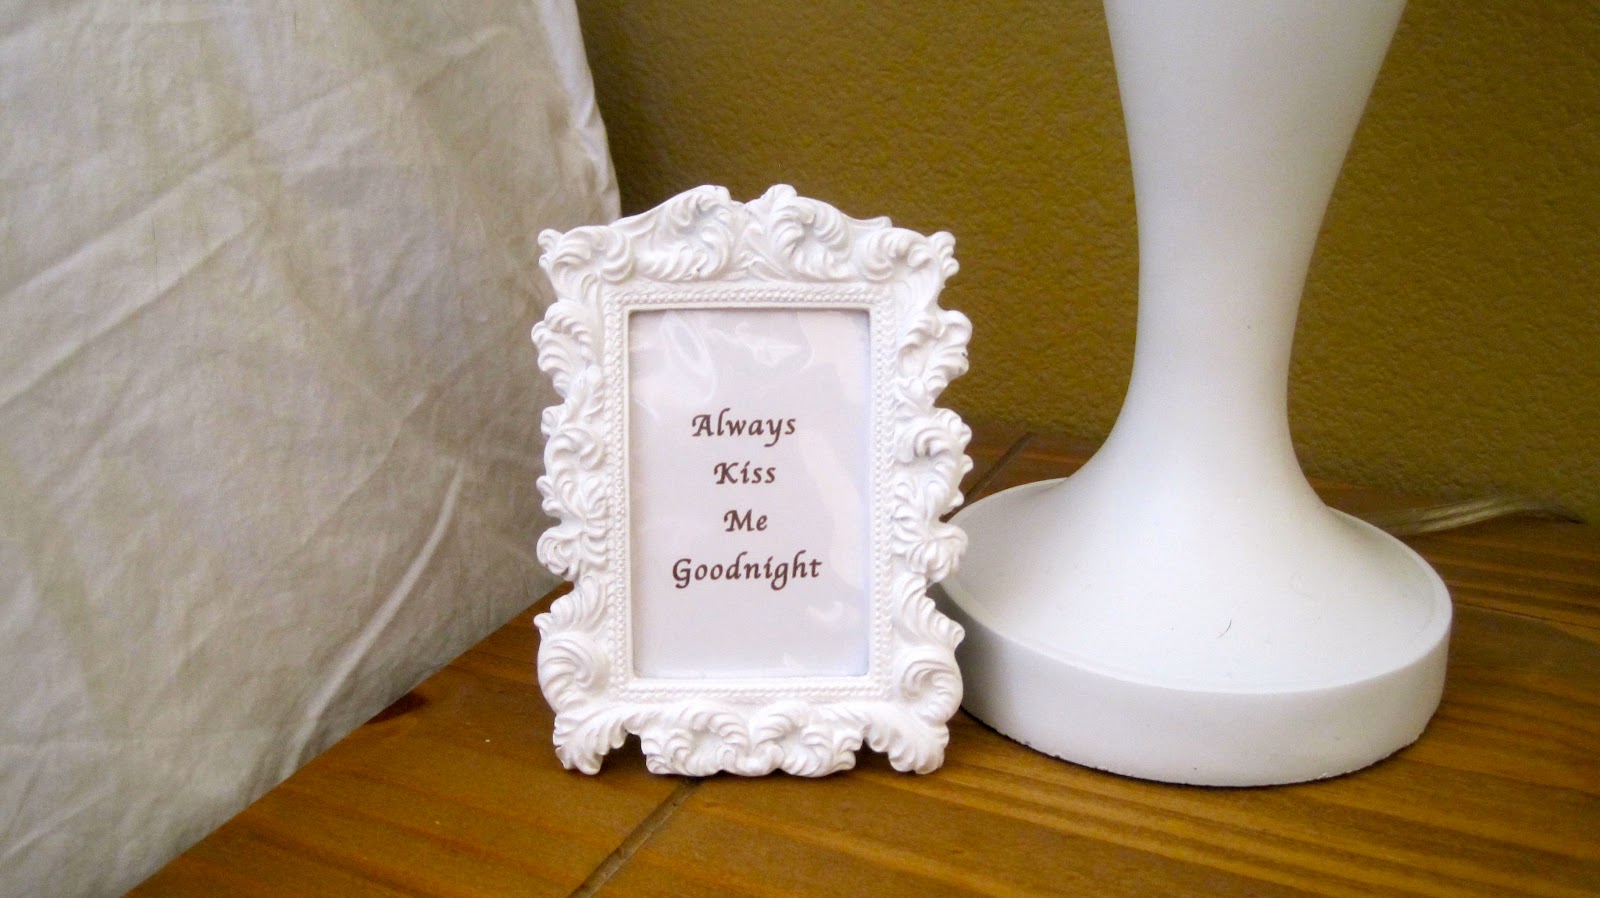
   The smaller frame (wallet size) I printed "Always Kiss Me Goodnight" in size 16 font in chocolate brown.  Unfortunately the clear plastic didn't come out so I had to find a different way to center my image.  This is how I did it...

First I taped the piece of paper that came in the frame to the window like this...


Then I put my image over the piece of paper and traced around the edge with a ruler.  See the pictures below...


My Finished Product


   These will make for great presents.  You can really make them personal and unique.  Rather printing on plain paper you can use scrapbook paper.  So print and frame away.


Monday, September 3, 2012

Favorite Products of the Month

   I haven't been really good about picking favorites and putting them up monthly.  To be honest I haven't been really good about posting anything at.  However, I am going to (like a crazy woman) keep up with it all.  So I have narrowed my favorites down to five products.  Believe me that was a chore.  It's a wide range of products as far as you can go with just five.  So here they are:


#1 Revlon Colorstay Base Coat

 
  This is even better than the Nail Magic!  It looks like a milky color in the bottle but goes on clear.  It gives great hold to your nail polish of any kind.  My nail color lasts 6-7 days without chipping wheather I have OPI or Sinful Colors.  I love this stuff.  Before I would go about 3 days and then my polish would start to chip.  It has made my nails stronger and for $5.99 at Target it's a steal.


#2 Mary Kay's Soothing Eye Gel


  After a long day of my eyes constantly being glued to a computer screen I need something to refresh and relax them.  This gel is the answer.  You can actually put it on over your eyeshadow and it won't mess it up.  Just dab it on.  It's even better after it's been chilled in the fridge.  I can't remember the price exactly but I do know that it's around $20?  However, this will last you forever.  You don't need a lot and it's wonderful to apply if you get migraines.


#3 Downy Wrinkle Release


  When my husband and I went on vacation I took this so when we pulled out our clothes from the suit case they wouldn't have all those creases.  It gives your clothes a fresh, just washed smell, even though I put dryer sheets in the suitcases they don't always do the trick.  It doesn't stain and it dries quick.  Next time you're in need of a quick fix or when you're traveling try this out.  Target sells it in their travel section for around $2.


#4  Aleene's Fabric Glues


  Me and glue I swear.  Seriously though, if you're not a sewing person and you want to do some minor projects this is a must have in your craft supply bin.  It's washable even dry cleanable!  Actually you could do major projects with this.  My friend made her entire Halloween costume with this stuff.  AMAZING.   Pick some up at Michael's for about $5 or so.  You can buy the mini's in a three pack for the same price.


#5 GE Indoor Basic Timer


  Some of you may have cute lighting around the house like twinkle lights or little lamps or what not and probably get tired of making the rounds to turn them all on.  What if you have guests?  You don't want to excuse yourself to spend time turning on all the lights.  Well this will save you.  Of course when you're away for vacation it's nice but I got them for the first reason.  The instructions are simple.  You just plug it in, turn it to what time it is now (a.m. is the white section and gray is p.m.) then  push down the tabs of the time you want the light to come on.  Once again, a time saver.

   Enjoy these products if you get them.   I use these products all the time.  Let me know how they work out for you.  Remember to read all the instructions and safety guide lines before you use them and use them for their proper use.  Thank you for reading my post today I hope you have a great day.