"Sometimes you gotta create what you want to be a part of it."
-Geri Weitzman

Sunday, December 18, 2011

Last minute gift ideas

   With as much chaos that is going on with the holidays I managed to put together a blog for some gift ideas.  I know it's only a week until Christmas but if your timing has been a little off (like mine) then I am right on schedule.  I have put pictures below breaking them up into 5 items per picture.  After each picture I will make a description and why I love these things.  I Hope this will help you find something for  that person left on your list or maybe for yourself.

Going clockwise from left to right starting on the top row
1.  Redken (Extreme) Anti-Snap-  It is a leave in treatment for distressed hair and it's AMAZING.  My hair dresser uses this on my hair every time I get my hair done.  This is one of the more expensive things on my list but it isn't horrible for $18.99 at Fred Meyers it's worth every penny.  It makes your hair flow and shine.  Just one pump after you wash your hair then style.  Your hair will thank you.
2.  Bath and Body Works body lotion.  The one in the picture is Sparkling Berry but they do have holiday scents that are delightful.  I LOVE this lotion.  Every body knows about B&BW but it makes for a great little gift.  The full sizes are $10.50 each and the travel size are $4.50 but they usually have great sales on them.
3.  MaryKay & Sonia Kashuk makeup brushes.  I love these brushes and I have actually asked my husband for another set of Sonia Kashuk brushes.  Both sets in the picture work wonders at applying  my makeup perfectly.  A girl can never have too many brushes.  I paid about $20 for my MaryKay and $10 for Sonia Kashuk.
4.  Mini mirror with monogram. This is a double sided mirror.  One side is magnified for a closer look which is perfect for tweezing the eyebrows.  I found mine in the $1 section at Michaels but you can also find them at Forever 21.  Great stocking stuffers and a good way to make a gift more personalized.
5.  Studded earrings.  As you can see one set is from Forever 21 and I got the other at Fred Meyer.  $5 or less is what I paid for them.  They are perfect to put on when you want to wear something but not feel like your over doing it.  Any kind of studs in a little variety pack (I really want to get gem/diamond ones) are perfect to get someone.


Going from left to right
1.  Printed tanks.  I chose to put my animal printed tanks in this picture but there are so many cute prints out there to choose from.  These are great to wear under a long sleeve shirt or sweat shirt.  It just adds a little something to a plain tee or sweatshirt.  I got both of these at Walmart for about $3.
2.  Paperless coffee mug.  This thing is WONDERFUL.  I love unique mugs.  I am a coffee and tea person (especially in cold weather)  and this makes a great gift for someone who likes warm drinks.  I thought that I would spill all over the place with this but I don't.  Cost Plus World Market for $7.99.
3.  E.L.F eye shadow.  Target carries this brand and it is very very inexpensive.  Each palette that I have has 32 colors . I bought both the cool and warm palettes and paid $5 each.  Yes some of the colors are extreme but they are fun to play with.  There are a lot of neutral colors.  Some of the colors are not very pigmented but I think this would be a good gift to give a girl that is just starting out with makeup.  Look for other E.LF. products at Target.
4.  Nail Magic nail polish.  This is a nail hardener that also prevents your nails from peeling.  You can  use it as a base coat or a top coat.  I paid $5.99 at Fred Meyers and it's the best remedy for my nails.  After about a week or so I could really see the difference.  My nail polish color stays on for a good week before it starts chipping.  Another product I would also recommend if O.P.I. top coat.  It is a little pricey  for a top coat ($8.99) but it is great stuff.
5.  Tweezers and Mini Nail clippers.  Yes I am recommending these because I always have them in my purse and in my makeup drawer at home.  A girl can always use them and you never know when they will come in handy.  Perfect for stocking stuffers and really cheap.  I think I have even seen some tweezers that come in colors and patterns like pink with zebra print.  Super cute.

I really hope this helps you with your shopping and please if you have any questions or comments please make a comment below.  I would love to hear if you gave one of these items as a gift or if you got something for yourself and your feed back.

Saturday, December 10, 2011

I disappeared for awhile...sorry

   Ok I have been major busy.  So busy that I didn't even do two projects from last month.  With the holidays and trying to get it all done it's been hard.  But, this helped me come up with a different way to blog.  I will try it this month and see if it will make things easier.  This month I will just post my projects as I go.  My random ideas of things and pictures.  I was finding myself falling into the, "oh I didn't say that I was going to blog about it so I don't think I should put it in" type thing.  So my blog posts will be at random.  Anything and everything will be the topics.  Hopefully I will get a video camera from Santa and I could VLOG and hopefully that keeps this more interesting.
  And please comment on anything . I want to know if these posts are fun when I do them or whatever it strikes you.  Sometimes I feel like I am talking to myself.  So I hope you look forward to this.  I will blog you later...hahaha.

Sunday, November 27, 2011

Fashion/Jewelry/Makeup: My favorite makeup tips

  Oh yes it's makeup time.  The things most women love and most men hate.  With this post I just wanted to share a few things that I love and that have given me some great tips and ideas for makeup.  I think one reason why some of us are scared to try something new (as far as makeup) is because it's on your FACE.  Right out there where everyone can see it and it's like putting yourself on display.

  One of my go to items is makeup artist Bobbi Brown's book called Bobbi Brown Makeup Manual.  Love, love, love this book.  This woman is amazing and her instructions are easy to follow.  After reading her book I got compliments on my eye makeup all the time.  I would love to meet Bobbi Brown, she is such an intelligent woman.  There is a lot more than just colors behind makeup; there is chemistry and art.

  Another favorite source of mine are my Youtube channels.  Amarixe, Kandee Johnson and Tiffany D are my 3 main girls I watch.  They are all fun to watch, they share their favorite products and they have tutorials.
http://www.youtube.com/user/kandeejohnson
http://www.youtube.com/user/amarixe?blend=3&ob=5
http://www.youtube.com/user/MakeupByTiffanyD
The links above are for the ones I watch.  If anyone has others please share in the comment box I would love to check it out.

I do want to share a couple tricks that I have just learned on my own with having sensitive skin.  First one is how to make your own makeup brusher cleanser.  Second, I change my foundation sponge every week or two.  Both of these things have improved my skin dramatically.  I try to clean my brushes about every two weeks.  If you actually need to wash them you can use the brush cleanser and run them under water with the bristles facing down.  Lay them flat to dry.

Makeup brush cleanser formula:
Witch Hazel- 2 Tablespoons
Bottled water- 1 cup
Baby shampoo- 1/2 teaspoon
  Mix it in a measuring cup and then put it in a travel size shampoo or squeeze bottle.   Pour a little bit of the cleanser onto a tissue and then swirl your brushes around.  Be gentle enough not to damage the bristles but firm enough to get down into the whole brush.  Lay them flat to dry.

  I hope you guys check out my favorite things and try a couple things.  I do have to warn you that you might get addicted to watching it and buying make up like I am now.

In The Kitchen: How to prepare for holiday cooking

   Even though Thanksgiving is over the holiday season is still very much here and the hustle and bustle has just started.  My intentions were to get this post up pre Thanksgiving but I became so busy that I had to put everything on hold.  However, it is kind of a general basis and the simplicity of it is something you could use all year.  Whether it's big events or small dinner parties I think these tips and ideas will come in handy.  Remember I am not a professional chef but I do think if you conduct yourself that way you will feel like one.

My general rules:
1.  No matter what you are cooking or baking make a list of what you need.  Actually go through your pantry and look to see how much flour, sugar, salt, spices, ect you have.  There have been so many times that I have assumed that I have something and I only had a pinch of it.  I know this may sound funny but I have been caught one too many times not doing this that I make myself do it now.
2.  Check the recipe a couple weeks before your event.  There may be a hidden ingredient that you might have to go on a man hunt for and we all know how extremely frustrating that is when you spend most of your day trying to find one ingredient.  My ultimate place for rare ingredients is at Cost Plus World Market.  They carry their spices all year round and they are really inexpensive.
3.  If it is a recipe you haven't tried maybe test it out a week before.  Make a "test" batch.  Cut the recipe in half so you are not using all the ingredients you bought.   Then you can make changes of any sort.  I taught myself how to cook and I learned that cooking isn't just about the ingredients it's about technique.

AND FINALLY
4.  Make sure you have enough or the right kind of cookware.  Some  I will share some of my favorites with you in pictures below.  Things that make your process smoother.

  I am sure that there are more tricks to this but you get the idea.... (I hope).  Cooking can be stressful and messy.  I think that's what I hate the most is the mess.  Take your time and enjoy the part of learning how it all goes together.  Cooking has been shown to reduce stress.  Have fun.

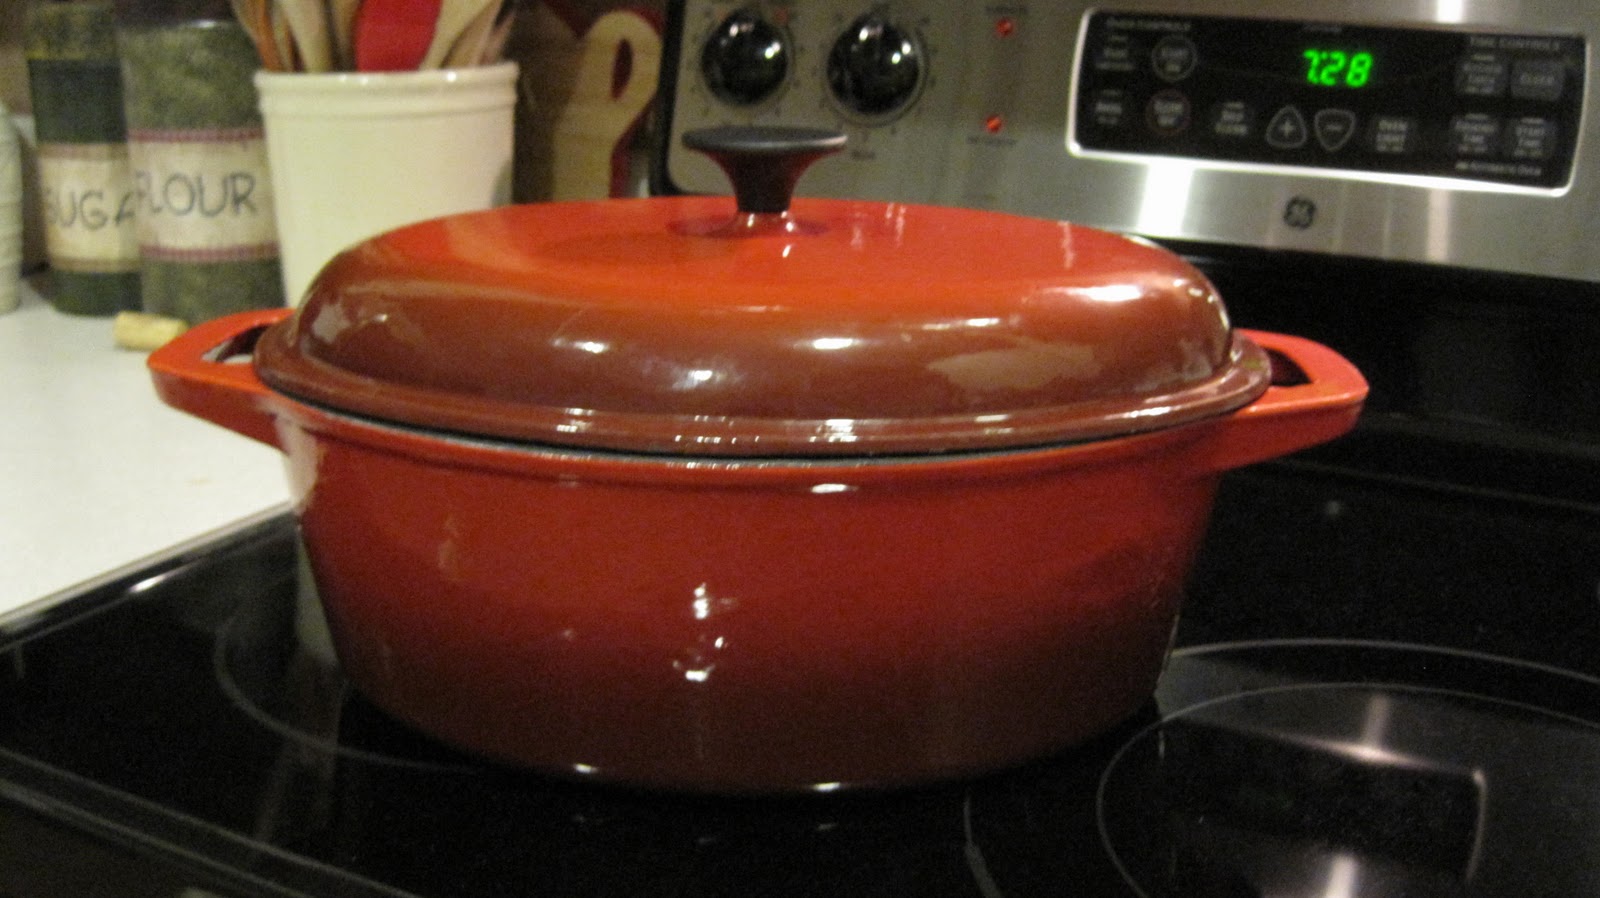
My Dutch Oven.  

My Kitchen Aid mixer.

My chocolate melter.  No more double boiler!

My bin for my cookie cutters.  All in one place.

Wednesday, November 16, 2011

Paper and Glue: Thanksgiving Cards

   My friend Amanda started embossing and I couldn't wait to try it for one of my projects.  Amanda had a to go through trial and error to test the best products to use.  So, using the stamp that I made from the post prior to this, card stock and embossing tools I made some Thanksgiving cards.

Supplies:
1.  Versa Mark ink/glue pad-$7.99 at Michael's
2.  Embossing powder-$3.59 at Michael's
3.  Embossing gun- $24.99 at Michael's but I used my 50% off coupon so really I only paid $12.99
4.  Stamp
5.  Blank cards-I just cut a 8" x 11 1/2 " stock card in half and then folded those pieces in half

How to:
1.  Press your stamp into the Versa Mark ink/glue pad
2.  Stamp your image onto the card where you desire
3.  Pour your embossing powder over the stamped image then tap excess powder off.  Just like using glitter.
4.  Then turn on the embossing gun and hold your card a few inches from the barrel of the gun.  Heat the  powder until it begins to change into a glossy finish.  As soon as your image is glossy shut off the embossing gun.  Make sure that you don't leave your embossing powder tube in the way of the gun and make sure that you don't get to close to your fingers.

Versa Mark and embossing powder

Thanksgiving card

Sunday, November 13, 2011

Paint/Wood/Metal: How to make your own stamp

   I am going to jump right into this how to project.  Don't worry it's easy you just have to take your time and have the right tools.
 
The supplies you will need:
1.  Carving pad (soft)-I bought mine at Quality Art in Boise, Id fr $11.99
2.  Carving tool with different size tips-Quality Art of Michaels for around $6
3.  Your image to carve
4.  Acetone-Walmart or Target
5.  Cottonballs
6.  Paintbrush 1"
7. Knife

How to carve your stamp:
1.  Once you find your image print your image using a laser ink jet printer.  If you don't have access to one you can trace your image by using tracing paper.
2.  Take your image flip it over and lay it on top of the carving pad.  If you printed your image with an ink jet printer take your cottonball and dip into acetone but don't soak the cotton ball.  Dab it over the back of the image.  This process copies it right onto the pad.  If you traced it place it onto the carving pad the same way.  Then rub the back of the paper and it will copy the image.  Remember if you are drawing directly onto the carving pad make sure the image is reversed.  So if the is writing or something is faced right you will have to do the opposite.  Cut your stamp out of the pad so you can maneuver it while you carve.
4.  Now you are ready to carve.  I always start with the smallest tip #1.  Depending what you want to stick out you carve around it.

All my tools and supplies

The carving pad up close.

My image that I wish to carve.

My image copied onto my carving pad.

Carving around my image.

After I carved all around the image.


5.  After you carve around your image then carve out what you don't want to show.  So in the image above I carved out all the white.  I used a #3.  It's really what you would be comfortable with.

   If you have any questions  please let me know.  I am hoping to get a camera so I can actually vlog to make it easier to explain things.  This little craft I picked up is in thanks to my two followers Carma and Amanda.  They have taught me a ton of things about this along with letter boxing.  To learn more about letter boxing go to atlasquest.com.

Monday, November 7, 2011

Why I love Fall

   All of the different colors and the way the atmosphere changes is just a couple of reasons why I love Fall.  Leaves changing and the cool air in the evening I know that holidays are fast approaching and that is so exciting to me.  Don't get me wrong I do think it is a little crazy to see Christmas decorations out before Halloween in the stores but I do enjoy the pure glory of the tradition it all brings.   Around our home I try to plant for all seasons so I can enjoy different things all year round.  I snapped these pictures this weekend as my husband and I were doing final yard work and I wanted to share them with you.  Now you will see why I love Fall so much.


Leaves in the front yard.


Looking up into our Cherry Blossom Tree.