"Sometimes you gotta create what you want to be a part of it."
-Geri Weitzman

Sunday, October 16, 2011

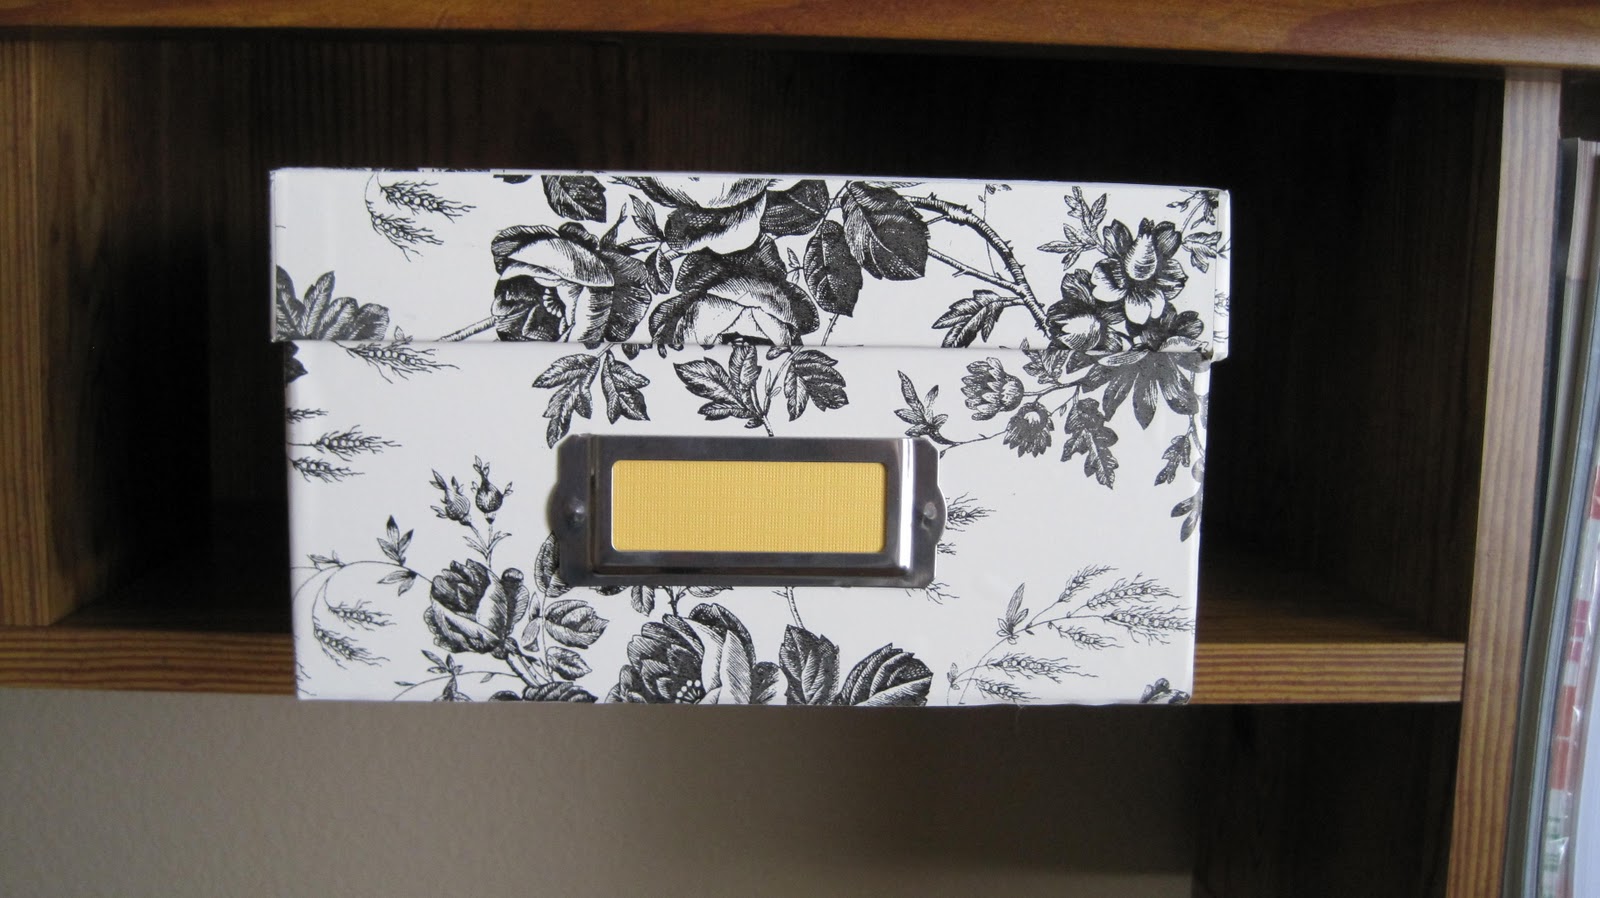
Organization/Cleaning/Decorating: Photo boxes repurposed for the office

   I found these white photo boxes at Michaels one day for $2 each.  The sucker that I am for buying stuff that I can organize with I bought 2 of them not knowing what I was even going to do with them.  Should I paint them?  Should I get really cool paper and cut out designs and then mod podge it?  Then one day I was at Fred Meyer and was looking at more organizational things (yes again).  I found contact paper in this really pretty pattern.  So that's how this project came about.

Supplies:
1.  Photo boxes- Michaels $2 each
2.  Contact paper- Fred Meyer $6.99 for a 24 ft roll
 (of course you need scissors and a pencil)


  Take your photo box and gently remove the silver label holder if your box has one.  Then roll out your contact paper and trace each side of the box and lid.  Cut your pieces out and start to peeling and sticking!  The contact paper is really forgiving and you can peel it back if you position it wrong or if you get air bubbles.  Easy right?


My supplies

My pieces traced and cut out.

Finished and ready to be used.

Side view of box

In The Kitchen: Drying and Preserving herbs

   Ever since I have started to keep a garden I have had herbs.  My first garden had a ton of different herbs and I didn't use all of them.  I really didn't know how to use them after season until now.  Drying and preserving herbs is easy.  Thyme is out of control in my garden and like most herbs the more you pick it the more it grows so this technique has come in handy.  Here's how easy it is.

1.  After cutting herbs wash them and pat them drying.
2.  Wrap kitchen twine around the top and make a loop.
3.  Hang herbs upside down for 4-10 days in a dry, cool place
4.  Once the herbs are crisp pick leaves off the stems and place in an air tight container.

   Label and date them and place in a dry, cool place.  Herbs like rosemary, thyme, oregano and sage are good for this particular process.  They will last up to 6 months, so just in time for the next season.

Other ideas I have come up with is seasoned salts.  Dried herbs and salts would be a great and unique gift for someone.  Just take sea salt and dried herbs and mix together, place in an air tight container.  I would label and date it as well and probably give it the same shelf life.

 The containers I bought at World Market/Cost Plus for .99!  They are glass and have colored ceramic tops.  Super cute and fun for gifts.  Here are my pictures below, I hope you guys try this out!

My containers, herbs and twine.

Hanging to dry!  See you in a few days.

Dried and ready to go.  See how much color has faded?

Tuesday, October 11, 2011

Photo Challenge Blog: Funny photo

   This is my funny photo.  We bought these glasses and had to show them off.

Nothing like wearing our sunglasses at night.

Sunday, October 9, 2011

Paper and Glue: Halloween Treat Bags

   I love to give out treats for Halloween, really any holiday I love surprising people with a little goody bag of some sort.  Weather it's sending out packages to our friends and family that are a little further from home or making up baggies for co-workers I love putting the goodies in a cute, decorative package.  So I was trying to come up with a way to use all my Halloween stamps that I have accumulated over the last couple of years and I got this idea.  Goodie bags.  You could also make wrapping paper and cards with just a simple stamp and plain card stock.  I hope you guys like this easy project.

What you need:
1. Paper lunch bags-  I got mine at Winco a package of 50 for .89
2. Stamps- Michaels for $1
3. Ink pads- Michaels for about $2.50

 I took my stamps and just started stamping the bag.  I did different designs and had fun with it.  I really had no rhyme or reason to my design.  Then I just tied Halloween ribbon at the top to close it just for an extra touch.  You could really do this with stickers as well.  Be creative and have fun.  It's a great project to do with the kids.


Friday, October 7, 2011

Surprise challenge: Inexpensive Lipgloss and Lipstick to the Test!

   So I have never really been a lipstick or lipgloss person but I have always wanted to be.  I don't know if it's because I am not very brave to try colors or what but I put myself up to trying out cheap lipgloss and lipstick before I really go crazy building up a collection.  I do realize that there are brands that work for some and not for others but this post is for the ones out there that are like me.  I didn't know where to start and really I didn't want to spend $10 or more on something that I would hate.  I just want to find out what works for me and get myself use to having something like lipstick/lipgloss on all the time.  So this week I bought 3 drugstore lipglosses and next week I will buy 3 drugstore lipsticks.  I have already tested out my lipgloss.
    1.  NYC's Kiss Gloss in #531 City Sorbet-  This didn't stay on my lips the best but I loved the color. I am thinking that this would stay with a lip primer a little better though.
    2.  Bonne Bell's Lip Lites in Cappchino- This stayed on pretty well but I think this would be better over a lipstick to give it some shine.  It did keep my lips glossy as it wore off so I might be able to get past the color.
    3.  Wet and Wild's #576A-  I loved this all around.  It stays, the color is fantastic and I would buy it again.
   I hope this helps anyone out there.  The price range for these were anywhere from $1.98 to $2.98.  Yes very, very inexpensive but somewhere to start.  Look for next weeks lipstick challenge and my results from that.

Bonne Bell, Wet n' Wild, NYC

Photo Challenge Blog: Plants or Flowers

   I chose to take a picture of my garden for this post.  I am very proud of our garden.  I have learned how to can and use everything out of the garden in different ways for recipes.

Sunday, October 2, 2011

October's Creative Challenge list

   This month brings so many great creative opportunities it's scary (yes, I really meant to do that).  I can't wait to get started and show you what you can do.  I will be adding something new to my blog that I find will be a lot of fun and maybe spark some interest.  Each month I will note what is celebrated and I will pick a couple daily holidays as well.  For instance, this month is Breast Cancer Awareness and on the 15th it is called Sweetest  Day.  Knowledge is power and the more we know how to celebrate things in life the more we enjoy it.  So, with that all said here is this months list.

In The Kitchen: Drying and preserving herbs from your garden
                          Homemade cat and dog treats
Organizing/Cleaning/Decorating: Photo boxes repurposed for the office
Paper and Glue:  Halloween treat bags
                            Sweetest Day cards
Thread/Needle/Fabric:  Mini Halloween yard flags
                                      Pet Halloween costumes
Paint/Wood/Metal:  Halloween decorations
Fashion:  Studded leather bracelets

Monthly holidays:  Breast Cancer Awareness and Cookie month
Daily holidays:  World Teachers Day is the 5th
                          Sweetest Day is the 15th (every 3rd Saturday of Oct.)
                          National Candy Corn Day is the 30th